How To Create Killer Landing Pages With Instabuilder

First, let me mention some of the notable Instabuilder plugin features.
Instabuilder Plugin Features
- Drag-n-Drop Page Builder
- Mobile/Tablet Responsive
- 100+ Done For You Templates
- 2 & 3 Step Opt-in Technology
- Built-In Image Editor
- One-Click HTML Converter
- Export & Import
- Welcome Gate
- Split Testing
- Advance Analytics
- Scarcity Builder
- and much much more….
You’ll see this landing page live in action if you join our newsletter and get the book!


The countdown timer is a pretty cool feature. You can set the countdown time to cookie tracking. This means if I enable the cookies in my web browser and I visit the landing page, the clock will start. If I visit the landing page 2 days later, I lost 2 more days and the offer will expire when the clock hits zero. There are several ways you can set up this countdown feature. Let’s get to how to use the InstaBuilder plugin.
The Dashboard
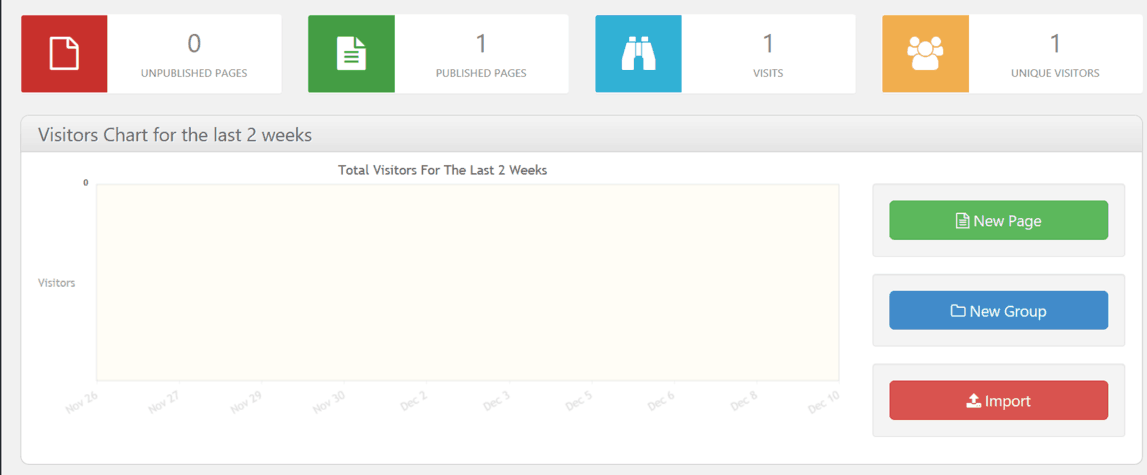
The dashboard is totally awesome and will show you detailed stats. As you can see, I don’t have any as of right now. I created one landing page and the one visitor is myself. I’m sure I’ll have stats to look at eventually. While still on the dashboard, if you scroll down a little more, you can see the groups or pages that you created with easy access to edit them or create new ones.

Create Landing Pages
For the sake of this tutorial, I’ll walk you through the process of doing this yourself. The only thing you need to do is come up with some catchy content and layout the page to suit your needs. After hitting “create landing page”, you should be on this screen: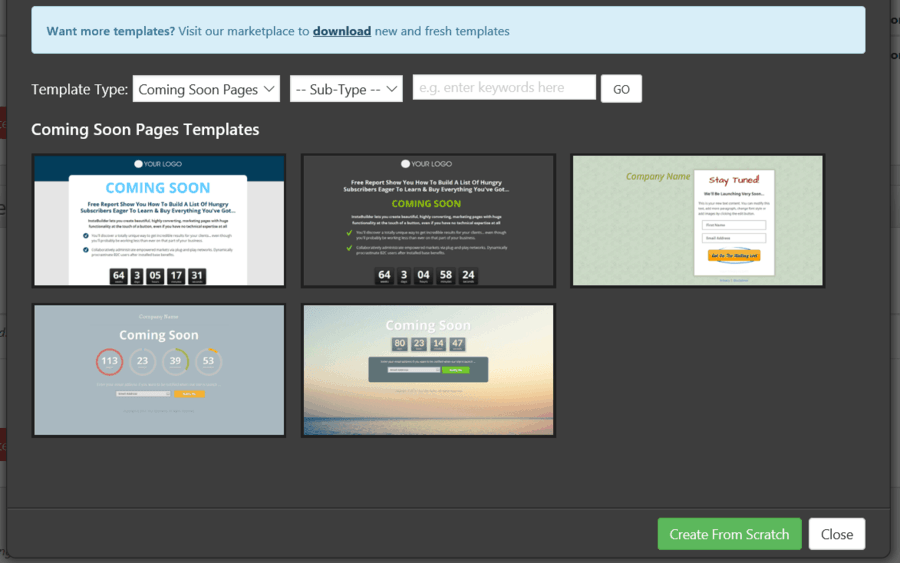
(over 20+ different templates to choose from)
Hover your mouse cursor over the images to get a full-screen preview or click to select one and begin editing your page. After you have selected your page, its time to make it beautiful.
Next section
I selected a template and uploaded the screenshot below. I have gone ahead and pointed to the things you can use to customize the landing page. You can upload files from your blog’s media library or upload images from your computer. The possibilities are endless when customizing your page. That’s why this InstaBuilder 2.0 plugin is recommended. The cost is cheaper than some of its competitors.
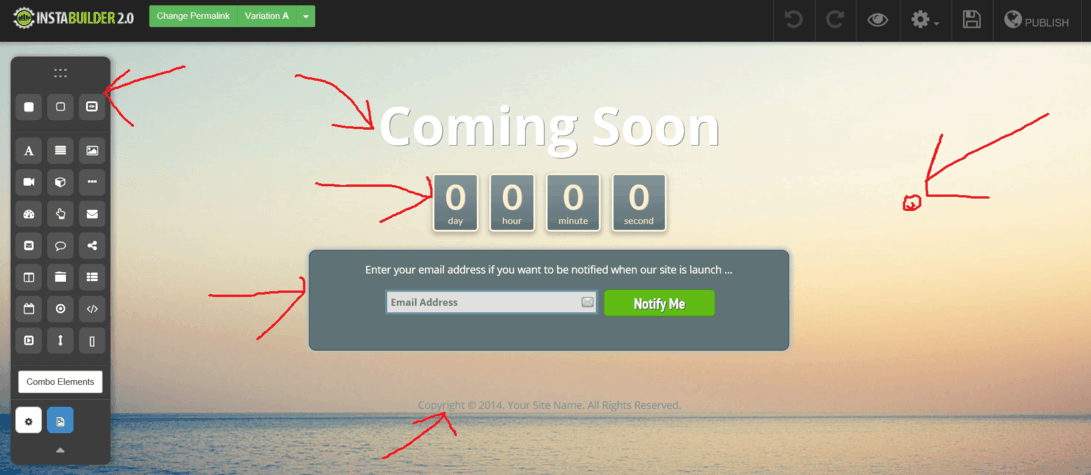
Let’s show a sneak peek of some internal settings for controlling any landing page you create. Each section of the template has custom settings to choose from. I can delete anything, drag and drop items, upload my own images…etc
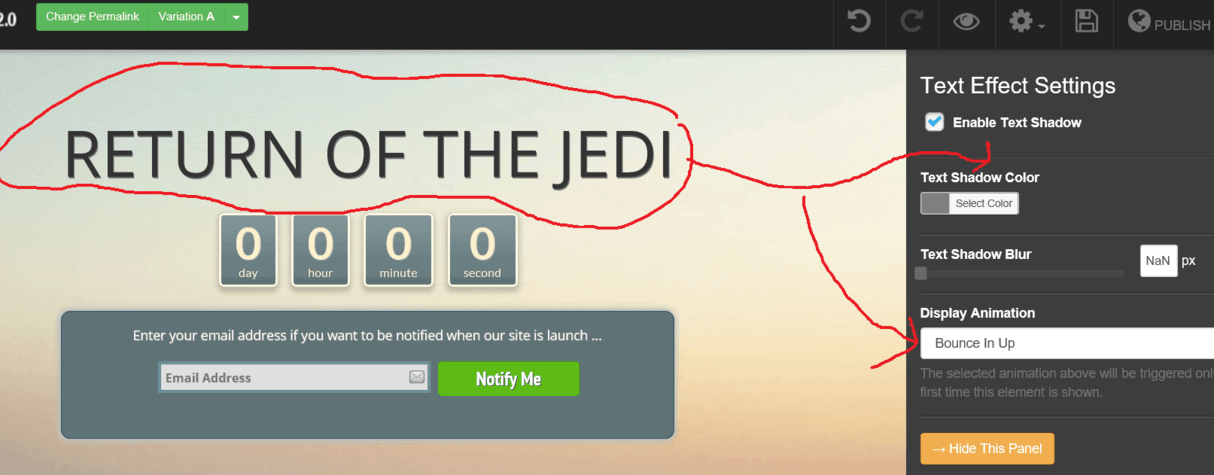
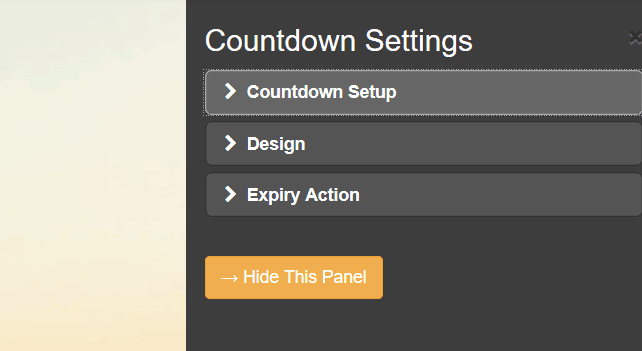
Since I love the clock feature, I’ll just go ahead and show you its settings.
SEO Page Settings
Yes, you can make any page that you create SEO friendly. Write a custom title, description, and even add keywords. You can even no-follow the landing page if you don’t want it indexed. This plugin has all the tools that you need. All you have to do is create and publish these pages for your specific campaigns. Here is one more image of the most important settings to really make this page come alive.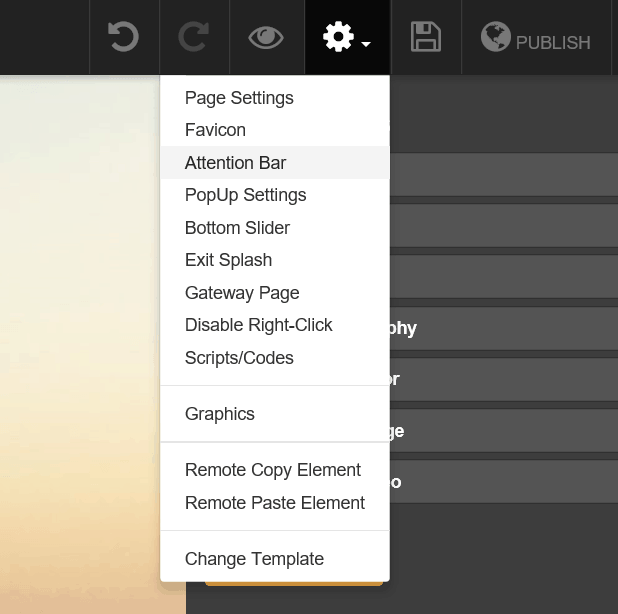
I was not going to do this but here is my very first landing page I created after I installed this plugin. As I use this plugin and tinker around a lot more, the pages will become so much better. There is big potential with this plugin and I’m going to take advantage of it. Are you?
Here is a video to watch that shows you a lot more.
If you are using this plugin, do share your experience in the comment section.


0 Komentar untuk "How To Create top Killer Landing Pages With Instabuilder 2018"